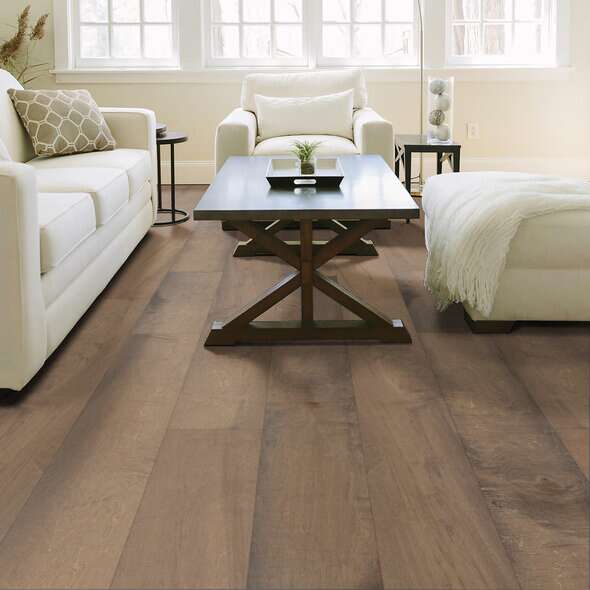
Learn More About Hardwood Installation Methods

If it’s time to upgrade your floors, choosing the right solution for your space can be an arduous task. There are many things to consider when deciding on a new flooring material. When it comes to improving your home, one of the best investments is by installing hardwood floors.
Not to be confused with other flooring solutions, traditional hardwood flooring flooring, a solid wood product about ¾” in thickness, is not a common DIY project, although with some information and the proper tools it is possible to lay your own floors. Generally speaking, hardwood planks will have “tongue and groove” edges which fit join together. How you go about installing them can vary. They can be purchased in a variety of stains and finishes, or you can choose to install your floors unfinished and stain them after installation.
Another option is to choose engineered hardwood, which is a thin layer of hardwood over a substrate core. Made as a DIY option, engineered floors are thinner planks that create the look of hardwood without the hassle.
Choose Your Tools
Installing wood floors requires a few tools, specifically a measuring tape, square and/or straight edge, and two different saws. A table saw will be necessary when a board is too wide, and a miter saw is used to cut planks to length. Other than that, power tools such as a nail gun or stapler will only be necessary if your installation method requires them. Read on for details, as well as some tips.
Nail Your Floors
The classic way to install hardwood floors is by nailing them to a subfloor. Ideally, subfloors will be ¾” plywood, or another substantial type of wood. Using a nail gun, hardwood planks are attached to the subfloor by shooting the nails through the tongue portion of the plank, after allowing for an expansion gap of ¼” to ⅜” around the perimeter of the room. This method is complicated and can be overwhelming, so you may want to find a professional to handle the job.
Staple Your Floors
Another method for installing hardwood flooring is by using staples. Similar to nailing, hardwood or engineered floors can be attached to the subfloor using a construction stapler, which is similar to a nail gun. Staples create a more secure joint than nails, which can be beneficial for stability or detrimental if there is any “wiggle room” required, as staples tend to be less forgiving.
Glue Your Floors
Engineered flooring can be glued to a subfloor, which is a great option if you’d like to create a pattern, such as herringbone. If this is the case, plan your layout in advance and do your research about adhesives, as many can contain potentially harmful chemicals. If you need advice, consult a professional about adhesives before purchasing one.
Click Your Floors
The easiest flooring installation is found with click together “floating” floors, which are manufactured to attach together using a special joint. They should be installed over an underlayment, to provide insulation and help eliminate the hollow sound commonly associated with walking on floating floors. This type of flooring installation requires no nails, staples or glue and is perfect for DIY.
When you are ready to tackle your flooring project, or opt for professional help, visit the helpful design staff at Markville Carpet & Flooring. They can go over flooring options, pros and cons, as well as tools and tips. They can also set you up with options for professional installation, and have your flooring updated without the DIY hassle.

