
Laminate Installation Simplified: Beginner’s Guide to the Click-Lock System
For homeowners in the GTA looking for an affordable, durable, and quick flooring solution, modern laminate flooring is the ideal choice. Technological advancements have perfected the click-lock installation system, transforming laminate installation into a manageable and highly popular DIY project. This system eliminates the need for messy glues, nails, or complicated tools, positioning it as an ideal option for DIY-minded homeowners or those needing a quick renovation turnaround. We provide a beginner’s guide to the click-lock process, covering essential subfloor prep and the minimal tools required to achieve a professional-looking, durable floor.
Markville Carpet & Flooring Centre is a full-service flooring company specializing in the supply and guaranteed installation of laminate flooring across the entire GTA and City of Toronto. We ensure “Five Star” installations and provide expert guidance for those who wish to tackle the project themselves.
The Genius of the Click-Lock System
The click-lock system is the innovation that revolutionized the installation of high-end laminate and luxury vinyl flooring.
Glue-Free, Floating Floor Technology
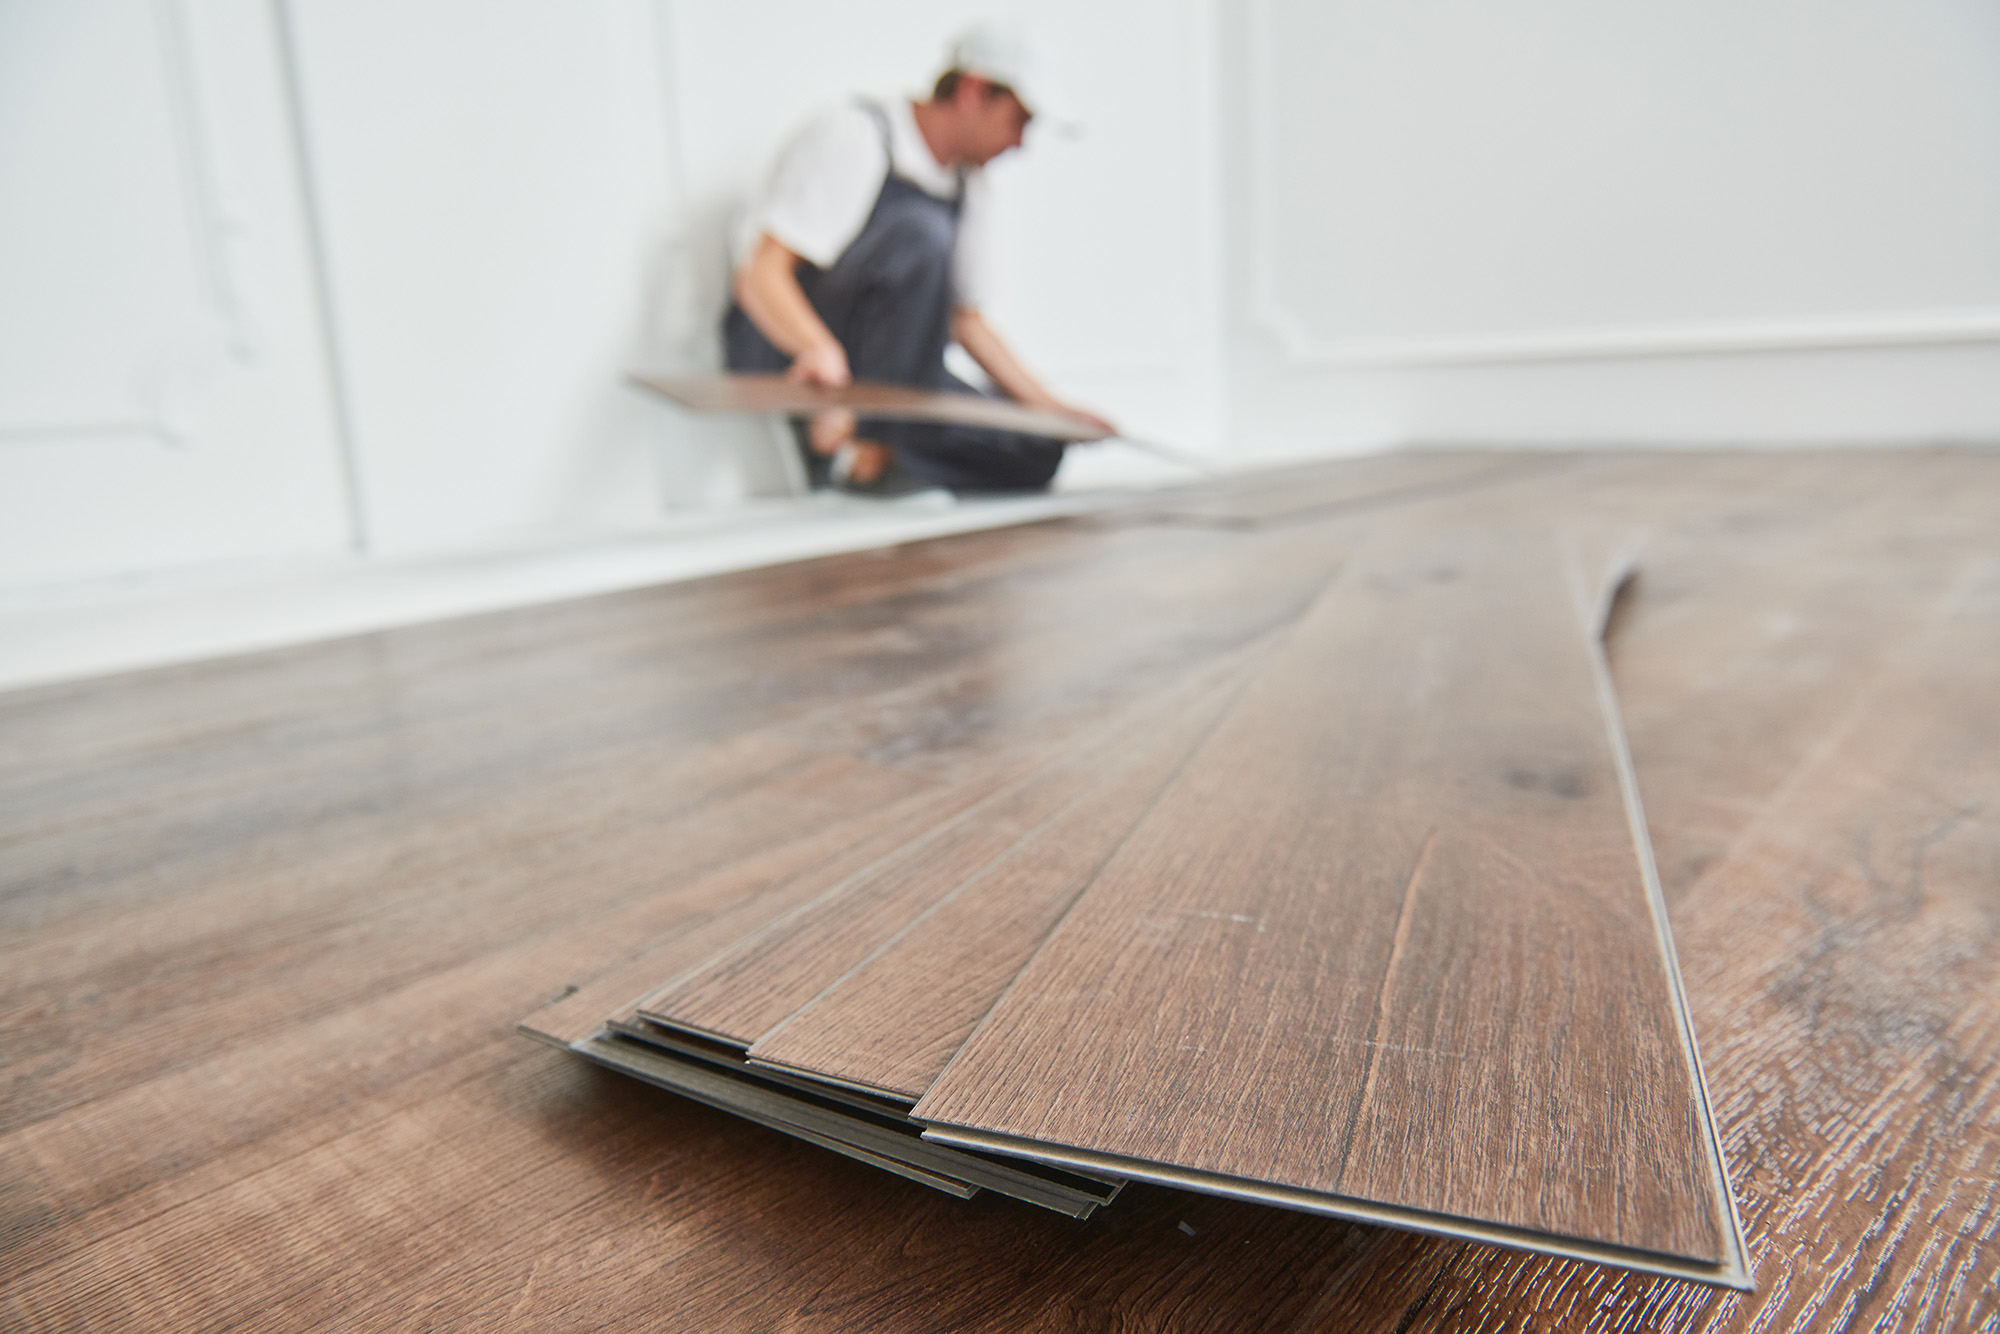
- Simple Mechanism: The edges of each laminate plank are precision-milled with interlocking tongue-and-groove profiles. To connect two planks, the installer simply angles the tongue of one plank into the groove of the second and locks it down with minimal pressure.
- Floating Floor: Click-lock laminate is installed as a floating floor, meaning the entire floor rests on the subfloor without being attached to it by glue or nails. This allows the floor to expand and contract naturally as a single unit in response to humidity changes (common in the GTA), preventing warping and buckling.
- Speed and Efficiency: Because there is no curing time for glue and no need for extensive fastening, the click-lock system drastically cuts installation time. An average room can often be installed in a single afternoon.
- DIY Feasibility: The system requires only basic hand tools and is forgiving of minor mistakes, making it highly feasible for beginner and intermediate DIYers seeking professional results.
Essential Pre-Installation Steps
The success of a click-lock installation relies heavily on proper preparation of the subfloor.
Subfloor Prep and Necessary Tools
- Subfloor Cleanliness and Flatness: The subfloor (plywood, concrete, or old vinyl) must be clean, dry, and flat. Any bumps, lumps, or debris will create soft spots and eventually cause the laminate seams to separate. A variance of no more than $1/8″$ over 6 feet is the standard.
- The Underlayment: Laminate requires an underlayment, which serves multiple purposes: it dampens sound, provides minor cushioning, and often includes a crucial moisture barrier. This barrier is particularly important in below-grade or slab installations across Toronto. The underlayment is rolled out directly over the subfloor.
- Acclimation: The laminate cartons must be brought into the installation room and allowed to acclimate (adjust to the room’s temperature and humidity) for at least 48 hours before opening. Skipping this step can lead to shrinkage or expansion after installation.
- Essential Tool Kit: The primary tools needed are a measuring tape, pencil, utility knife (for cutting length), a small hand saw or jig saw (for cutting complicated shapes), spacer wedges (to maintain the essential expansion gap around the perimeter), and a tapping block and pull bar (to lock the last row of planks in place).
The Click-Lock Installation Process
The installation proceeds row by row, beginning in a corner and working across the room.
Key Installation Tips
- The Expansion Gap: Laminate will expand and contract. Spacers must be used around the entire perimeter (walls, cabinets, door frames) to maintain a $1/4$ to $3/8$ inch expansion gap. This gap is hidden later by baseboards and trim.
- Start Straight: The first row is the most important; it must be perfectly straight and square to the wall. This row sets the tone for the entire room.
- Stagger the Seams: For structural integrity and aesthetic appeal, the end seams between rows must be staggered by at least 8 to 12 inches, creating a random pattern that mimics real hardwood.
- Finalizing the Perimeter: The last row often needs to be cut lengthwise to fit. The pull bar is an essential tool for securing the final row and locking the last planks into the rest of the floating floor system.
Simple and Durable Laminate Flooring from Markville
The click-lock system has truly simplified the installation process, making laminate an accessible, durable, and stylish flooring solution for rapid and beautiful renovations across the GTA. Established in 1980, Markville Carpet & Flooring Centre is proud to be serving the entire GTA and City of Toronto for over 38 years, specializing in the supply and installation of high-quality laminate.
To start your easy laminate installation or renovation project. Visit our flooring showroom locations in Markham, ON, or Toronto, Ontario, or Contact us today for an In-Home Consultation and design services.